Backing up iCloud Photos to an external drive when your library is larger than your laptop storage
osxphotos is a great command line utility that lets you download full high res backups of photos and videos from your iCloud library to any directory.

How can you back up your iCloud photos if your library is bigger than your Mac hard drive?
If you've got a desktop, a reasonable solution would be to put your iCloud photos library on a different hard drive. You could turn off 'optimise iCloud library' and download full res photos to a big enough external hard drive. Then you can use time machine, or an online service like Backblaze to make extra copies of your whole iCloud library.
If you have a laptop, having your Photos library on an external drive is not so convenient. If you don't have the drive plugged in, you won't be able to access your photos library. If your iCloud photos library is bigger than your Mac hard drive, you basically have to use the optimise images feature—which is really neat. However, I would prefer a full copy of all my iCloud photos in my backup stack.
Enter osxphotos, a fantastic piece of open-source software. This allows you to export your entire iCloud library to a target directory on an external drive without having to download all of your iCloud photos on your library. I left the 'optimise mac storage' option on. When running a backup with photos, all of my media was downloaded, and the Mac conveniently removed the temporary copies of high-resolution media off the main hard drive once they were exported to the backup external drive. Neat!

How to install osxphotos
If you have python and pip installed on your mac, open up Terminal and run:
How to do your first backup
You can call osxphotos in Terminal with:
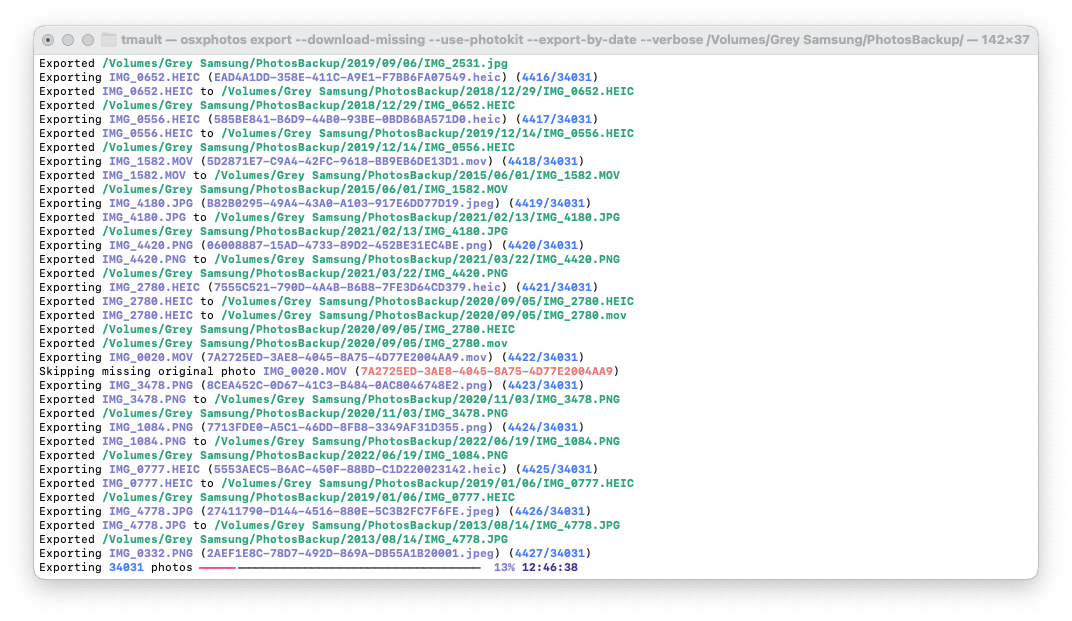
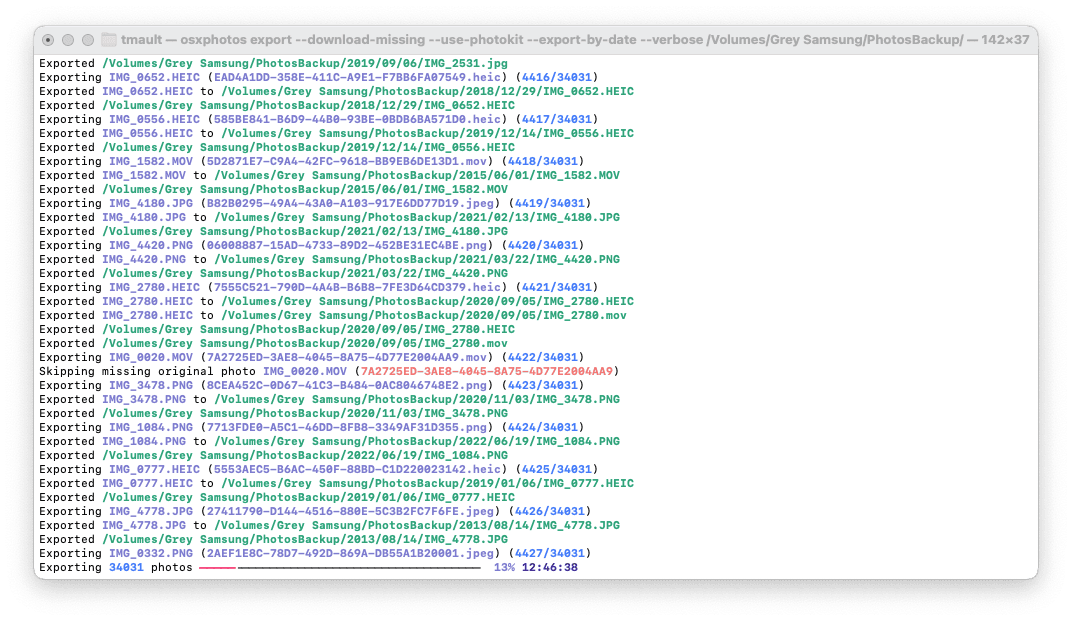
Replace ... with your desired export directory. I went for an external drive that had a space in its name, so my command was:
I added some flags, to:
- Download high-res versions of any photos or videos not already on my mac
- Use photokit, which the developer suggests is a slightly more stable way of interacting with iCloud
- To export photos by date, which puts photos in a year, month, and day folder in the target directory
- Update command which checks if a version of the image or video is already stored in the target directory. This won't be true the first time you export your library, but if you want to run this command on a regular basis this avoids re-downloading media. It create a small database inside the target directory to track which media has already been downloaded.
My final command became:
Then, your terminal will spring to life with a progress bar. If you check the target directory, you will see the photos and folders of year / month / day starting to assemble before your eyes.

My library is about 250 GB with ~ 30,000 photos/videos. The first backup took around eight hours to run. I am on a fast internet connection (800 mb/s) - so I don't know whether we are slowed down by non-parallelised downloads, local CPU (I'm on an M1 MacBook Air), or slow interaction with the Apple servers for bulk downloads.
Once you've done the first export, can can append the --only-new command to skip already downloaded photos.
So the final command becomes
I will run this command roughly once a month to keep the external drive copy of my media up to date.
After years of precious memories building up inside iCloud, it feels good to have the photos and video sat on a hard drive, backed up offsite for me by Backblaze.


